Step-by-Step Process of Grading & Leveling A Landscape
#GradingandLeveling
Have you ever dreamed of a heavenly backyard where you can relax while entertaining yourself and your family? If you have, you might consider turning your dull outdoors into a lavish and fully functional backyard where you can do anything you want.
However, when it comes to reviving your backyard with beautiful plants and stylish furniture, the first thing that you should consider is preparing a foundation for a truly functional and visually appealing landscape by grading and leveling.
But wait! What is the meaning of Grading and Leveling Properties, and why is it essential?
The simple answer is that grading and leveling is a process in which the landscaper manipulates the land’s surface to achieve two crucial goals. These goals are optimal drainage, an aesthetically pleasing outdoor environment, and, most importantly, providing environmental benefits, according to the National Pollutant Discharge Elimination System (NPDES), landscape grading and leveling help to control soil erosion, stormwater, and sedimentation.
Grading and leveling landscapes are vital as they sculpt the ground to create a smooth, even surface that allows water to flow freely, preventing pooling and erosion. They also protect from water damage, property grading, and leveling and create a solid foundation for any structures or features you plan to add, like patios, gardens, or retaining walls.
Now that you understand what Grading and Leveling a Landscape is and why it’s essential, it’s a step-by-step process here.
Step 1: Planning & Preparation
The initial phase of every successful grading project is careful planning and preparation. The subsequent measures should be considered while designing your landscaping base:
Site Assessment
Here is how your landscaper will assess the site:
- Topography: For site assessment, your contractor will need to evaluate your land’s current slope and elevation. The professional will note any hills, dips, or uneven areas, which will help the expert ensure the work is on the right track.
- Drainage Patterns: The second step is to identify the natural water flow across your property. For this, the professional will need to check whether there are any specific areas where rainwater currently collects. Are there any low spots that usually get soft and watery after rainfall? Are there any natural drainage areas that can be useful when you install the drainage pipes and system?
- Underground Utilities: Houses usually have underground utilities, such as water and gas pipelines, that can cause severe accidents if ignored during excavation. Contact your local utility companies to locate these pipelines to ensure your excavation won’t be affected.
Design Considerations
After the site assessment, the next step is to consider the design and draft a blueprint.
#GradingandLevelingStrategy
Here is what you should consider:
- Desired Outcome: Consider what you want to have in your backyard. Do you think about a level lawn for recreational activities or raised planting beds for a flourishing garden?
- Drainage Plan: Develop a strategy to direct water away from your house and other structures. This might involve sloping the land away from buildings or installing Drainage Systems.
- Local Regulations & Permits: Consider if any permits are required for grading projects in your locality.
Step 2: Grading & leveling Techniques
The tools and equipment needed for grading will depend on the size and complexity of your project. Here’s a breakdown of some common tools and the steps involved:
Tools and Equipment
Here is the list of tools and equipment according to the project size:
- For Small Projects: You can opt for shovels and rakes for small-scale leveling or filling in minor dips. Along with shovels and rakes, you can choose a Sod cutter, as it helps remove existing grass efficiently before grading begins.
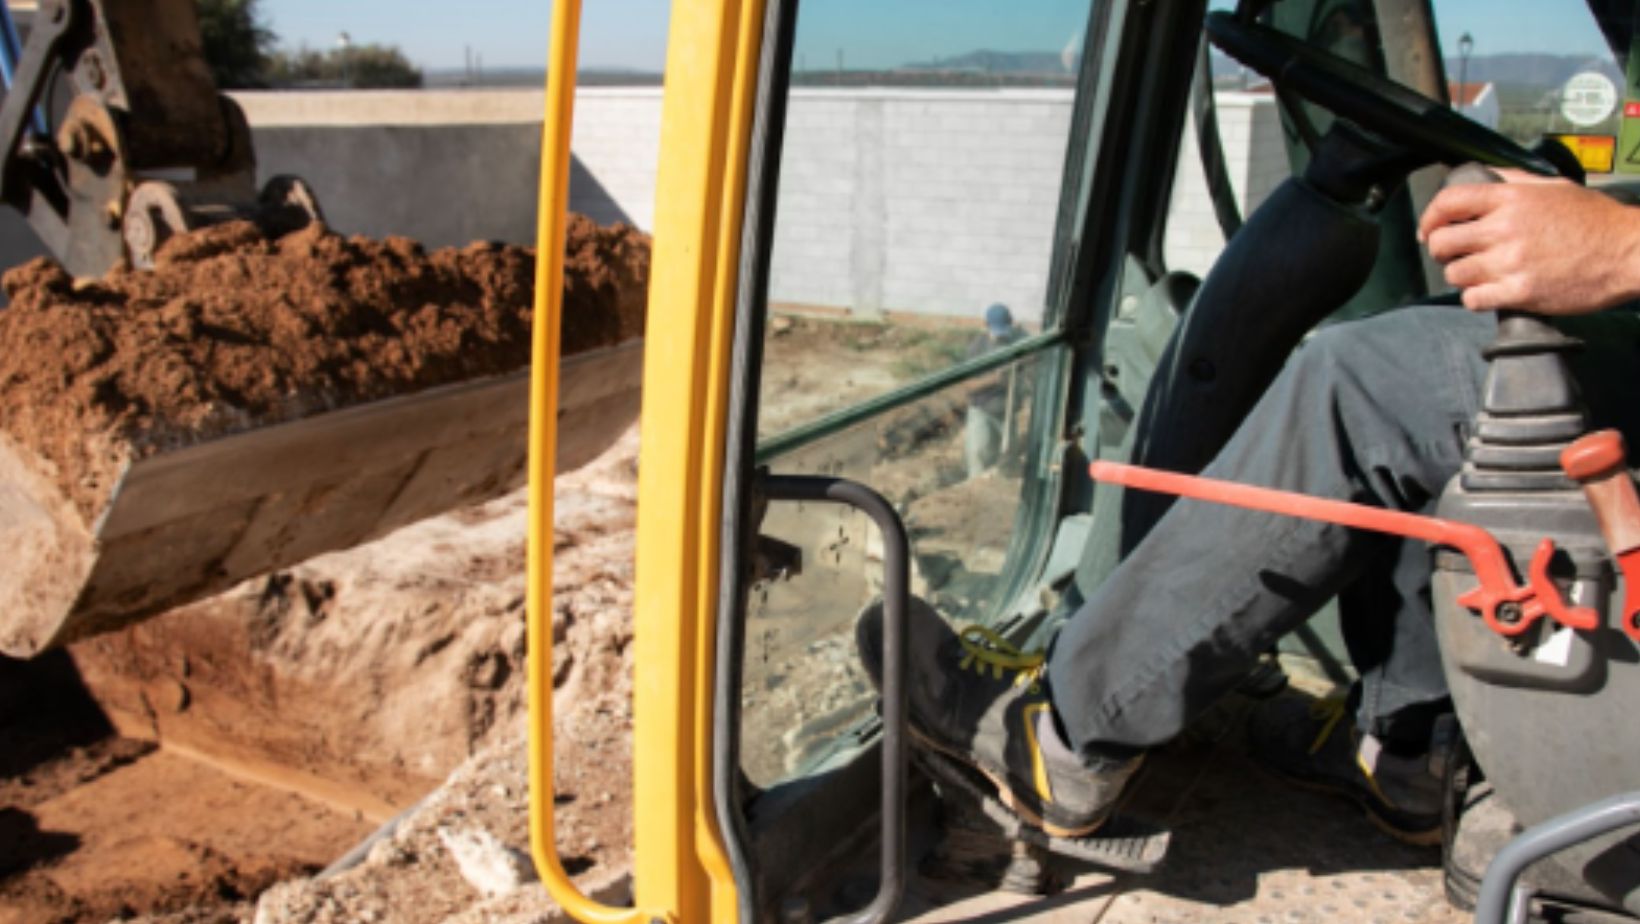
- For Larger Projects: Select a bobcat or skid steer for a large-scale leveling project. These versatile machines are ideal for moving significant amounts of soil for rough grading. For leveling, choose laser level. This high-tech tool projects a precise level line for accurate grading. Moreover, if you are willing to opt for the traditional methods, choose string lines and stakes to establish level lines on the ground.
The Grading and Leveling Process
Here is the step-by-step grading and leveling process for flawless landscaping:
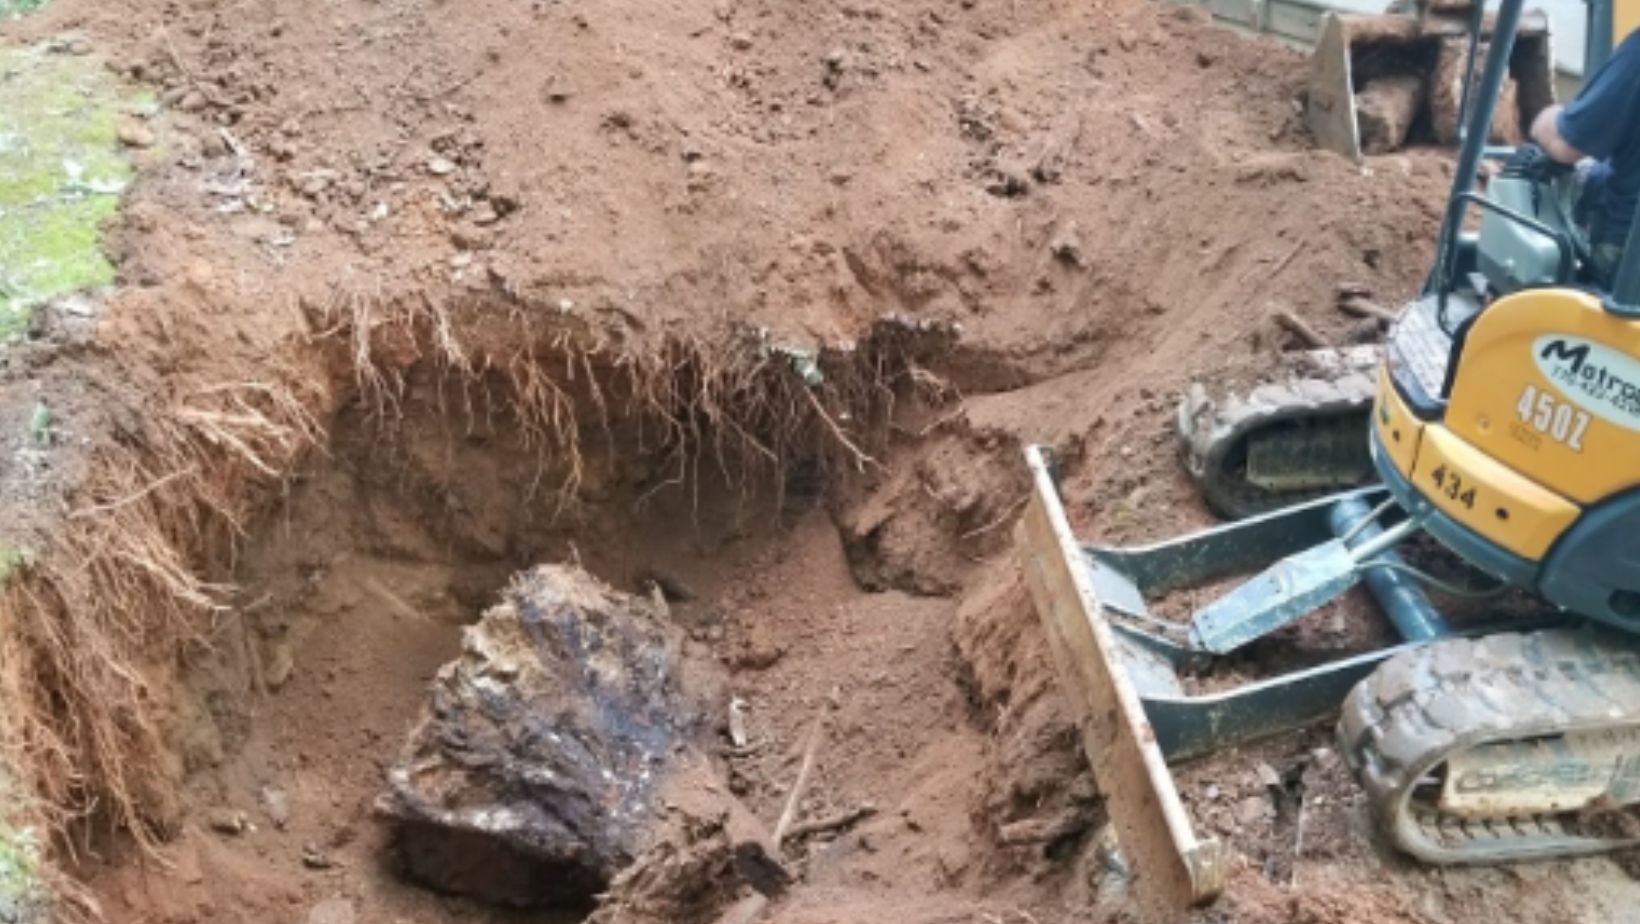
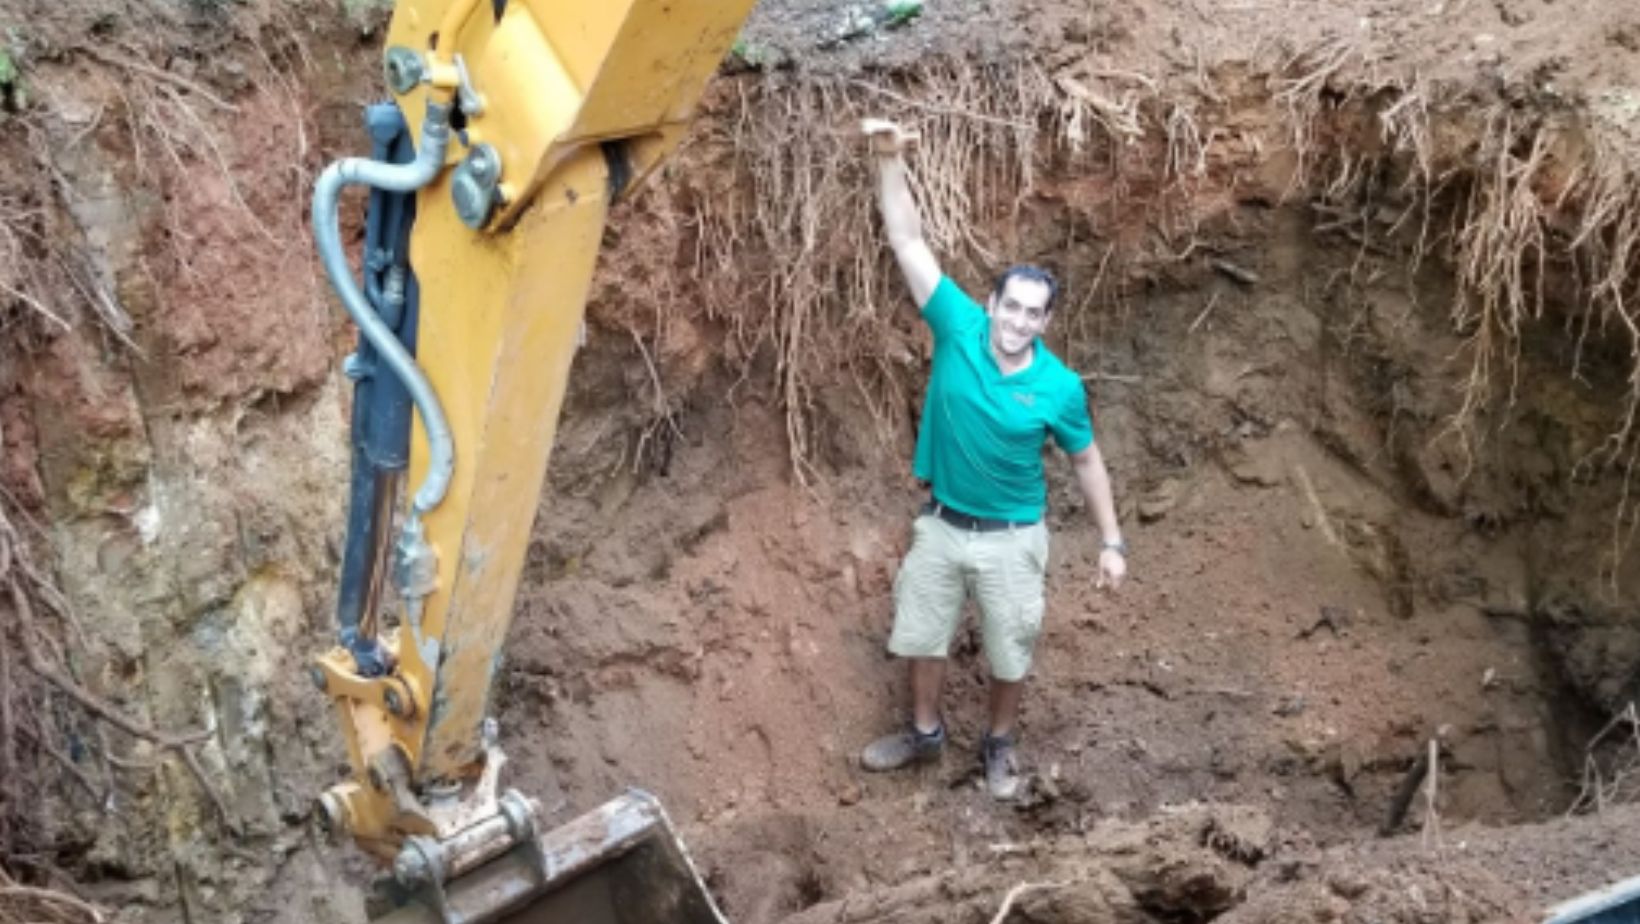
- Clearing the Area: To make grading easier, all obstructions, including rocks, tree stumps, pre-existing vegetation, and debris, must be removed.
- Excavation: Higher areas can be leveled by cutting them down using tools like excavating equipment or shovels for smoother surfaces during high spots.
- Filling: Add soil to low spots to achieve the desired elevation. Ensure you use suitable topsoil for planting areas.
- Compacting the Soil: This is a crucial step to prevent settling and ensure a stable foundation. Compactors, either plate compactors for smaller areas or vibratory rollers for larger projects, compress the soil layers, increasing their density and load-bearing capacity.
- Fine Grading & Raking: Once the major leveling is complete, use rakes or fine-grading equipment to create a smooth, finished surface.
Verifying Drainage
Ensuring proper drainage is vital to prevent water pooling and potential damage. Here’s how to test your work:
- Simulate water flow using a garden hose. Run water across the graded surface and observe how it flows.
- Refine the grading as needed to ensure water flows away from buildings and towards designated drainage areas or collection points.
Add Finishing Touches
The next step after leveling and grading is to put the finishing touches that make your landscape ready for use as intended:
- Adding Topsoil: Use good-quality topsoil for planting purposes. This provides essential nutrients that encourage healthy plant growth and an improved appearance compared to the underlying soil.
- Seeding or Laying Sod: The options are planting fresh grass seeds to have a new yard or simply buying pre-grown sod, which can give your lawn a quick green finish.
- Installing Edging or Borders (optional): Besides being decorative, it makes planting beds and pathways look better.
Wrapping Up
Grading and leveling your landscape is the initial step to making a beautiful and functional outdoor space. By following the steps described in this blog post, you can be confident that your property will have a good base that promotes proper water flow and provides the ideal background for all your Landscaping Ideas.
#RefiningtheGrading
Remember, it’s always better to hire experts like Outdoor Makeover & Living Spaces so that you are assured about quality & safety. Through meticulous preparation and implementation, you can make your garden a dream come true, which you can enjoy for years.

The Ultimate Guide To A Year-Long Adventure In Southeast Asia

Ideal Day Trip Ideas from Tampa

25 Packing Tips for Cross Country Moving

How Foam Dressings Help Wounds Heal Faster: What Patients Should Know

The Rise of Plant-Based Diets: Benefits and Myths

Meeting the EU Instant Payment Deadlines: How White Label Payment Gateways Can Help

Achieving An Effective Web Design In New York

What Are The Greatest 10 FAQs about Delta 9 Gummies Before Purchasing?

The Ultimate Dallas Tailgate Party Playbook: Your Step-by-Step Game Day Guide

Exploring The Rise Of Non-Kyc Online Casinos
-

 Personal Finance12 months ago
How Do I Find My UCAS ID Number?
-
Success6 years ago
Consistency: The Key Ingredient to Success
-
Personal Finance12 months ago
What Does Conditionally Approved Mean For An Apartment?
-
Motivation3 years ago
How To Become a More Organized Person?
-
Others5 years ago
Work Health and Safety: 8 Reasons to Maintain a Clutter-free Office
-
Entrepreneurs4 years ago
Why Diversity is Key in Business Marketing
-
HK Pools12 months ago
The HK Pools Forum Comunity Jos Markotop 2D Warna Kuning – A Great Way to Stay Connected
-
Sport2 years ago
What Makes Soccer Betting So Great?