How to Repair Small Drywall Holes: A Comprehensive Guide for Homeowners
Small drywall holes are a common problem in many homes and are often the result of hanging pictures, mounting shelves, or other types of minor accidents. While they can seem insignificant, repairing them is necessary to maintain the integrity of a home. Luckily, handyman experts have worked together to create a comprehensive step-by-step guide for repairing small drywall holes completely on your own. With it, you can embrace the DIY approach, providing an easy and cost-effective way for house maintenance.
Understanding Drywall and Small Hole Damages
Drywall, or plasterboard, is a fundamental building material commonly used in home construction. It’s made of a gypsum core placed between layers of paper, which provides it with strength and fire resistance.
Common Causes of Small Holes
The most common causes of small drywall holes include:
● Nails. Nail holes are often created when hanging pictures, mirrors, or artwork and are one of the most common types of drywall damage.
● Screw Anchors. Anchors used for mounting shelves or fixtures on drywall can leave behind small holes when they’re removed.
● Accidents. Accidents, such as bumping furniture into the wall, can result in small dents or holes in the drywall.
The Importance of Repairing Drywall Damage
Even small holes and dents on your drywall can negatively affect the appearance of your house. That’s why repairing them is important to provide a uniform finish that maintains the visual appeal of your living space. Doing that will also prevent further damage, such as cracks or peeling paint, which can be more challenging and costly to fix later on.
Drywall Repair Process
Tools and Materials
To repair any small holes and dents on your drywall, you’ll first need to gather some supplies, which should include:
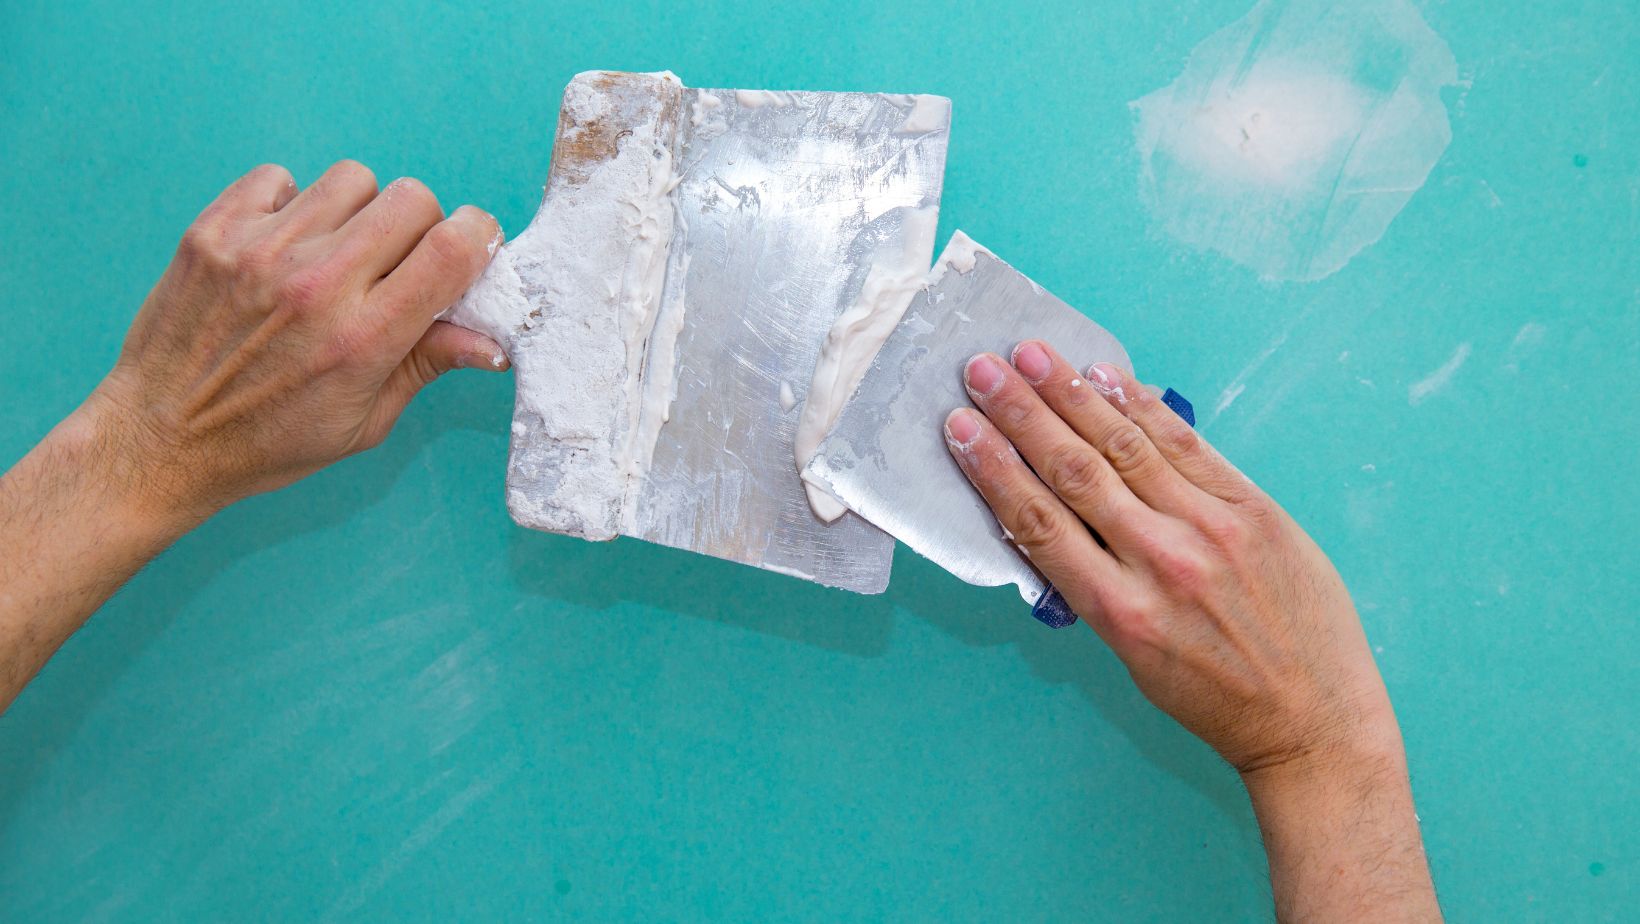
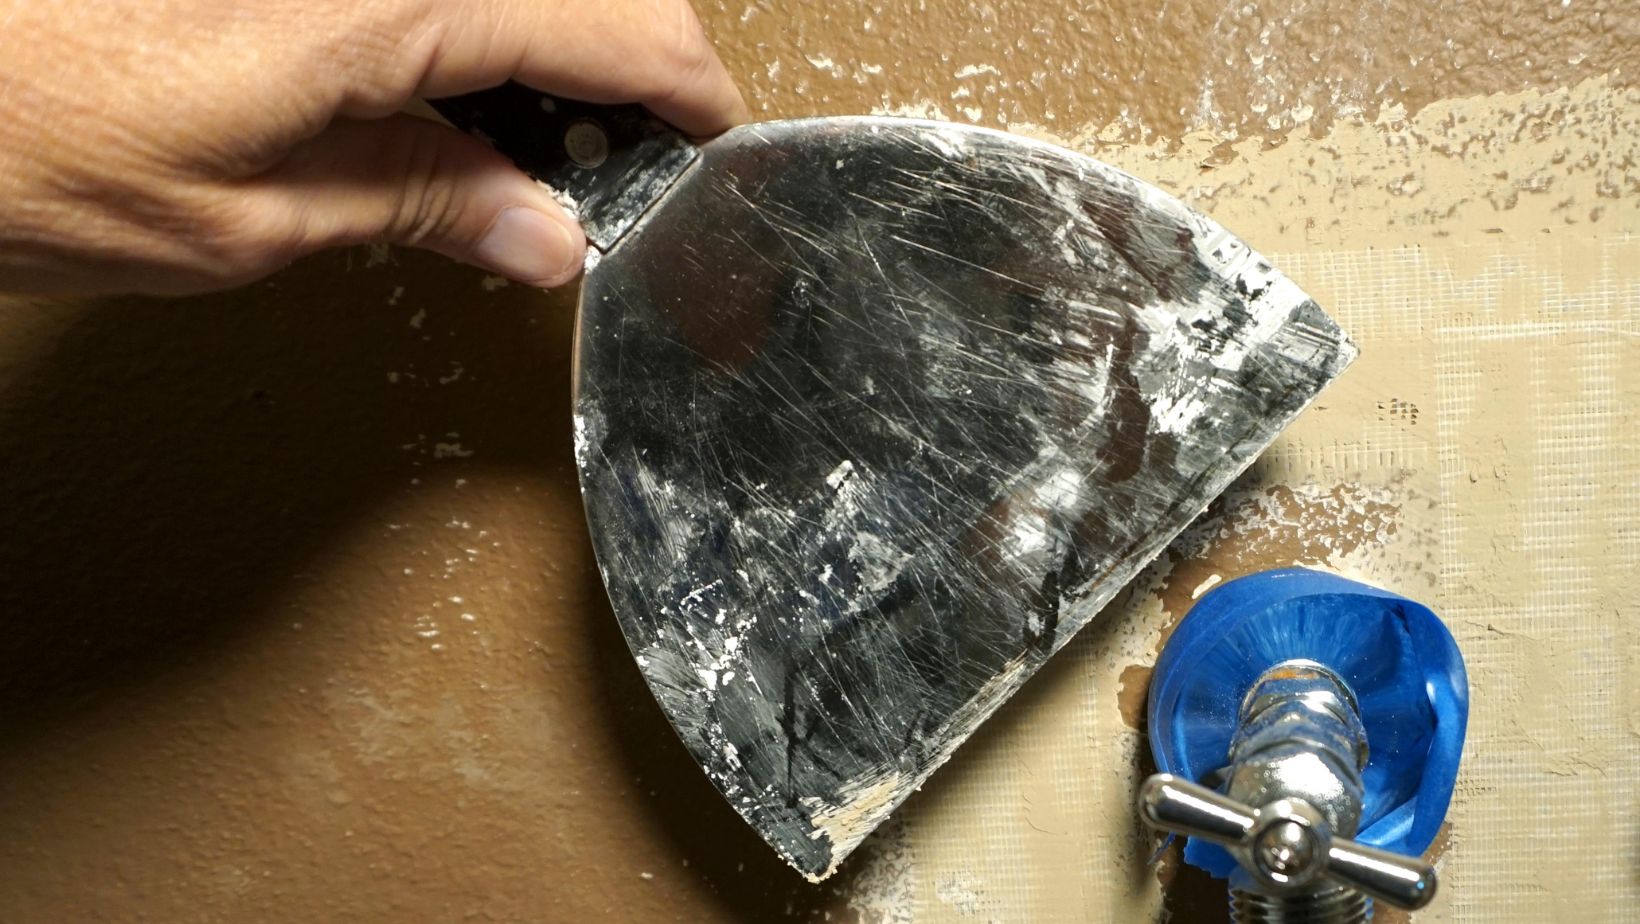
● Putty knife for applying filler material smoothly;
● Sanding block or sandpaper to achieve a smooth finish;
● Utility knife for cleaning and preparing the hole;
● Tape measure to measure the hole accurately.
Additionally, you’ll also need:
● Spackle or joint compound. Spackle is suitable for smaller holes, while joint compound works best for larger holes.
● Safety equipment. Safety glasses and a dust mask will protect your eyes and lungs during repair.
Step 1: Preparing the Hole for Repair
Before you start working on the repair process, you’ll need to assess the damage by:
● Size and Extent. Evaluate the size and extent of the hole to determine the appropriate repair method.
● Type of Damage. Check if the hole is only on the surface or if there’s any underlying damage to the drywall.
Step 2: Cleaning and Preparing the Area
To clean and prepare your working area for the repair job:
● Remove any loose debris. Clean the hole and its surroundings to remove any loose debris or paint chips.
● Smooth the edges. Use a utility knife to smooth the edges of the hole, providing it with an even surface for repair.
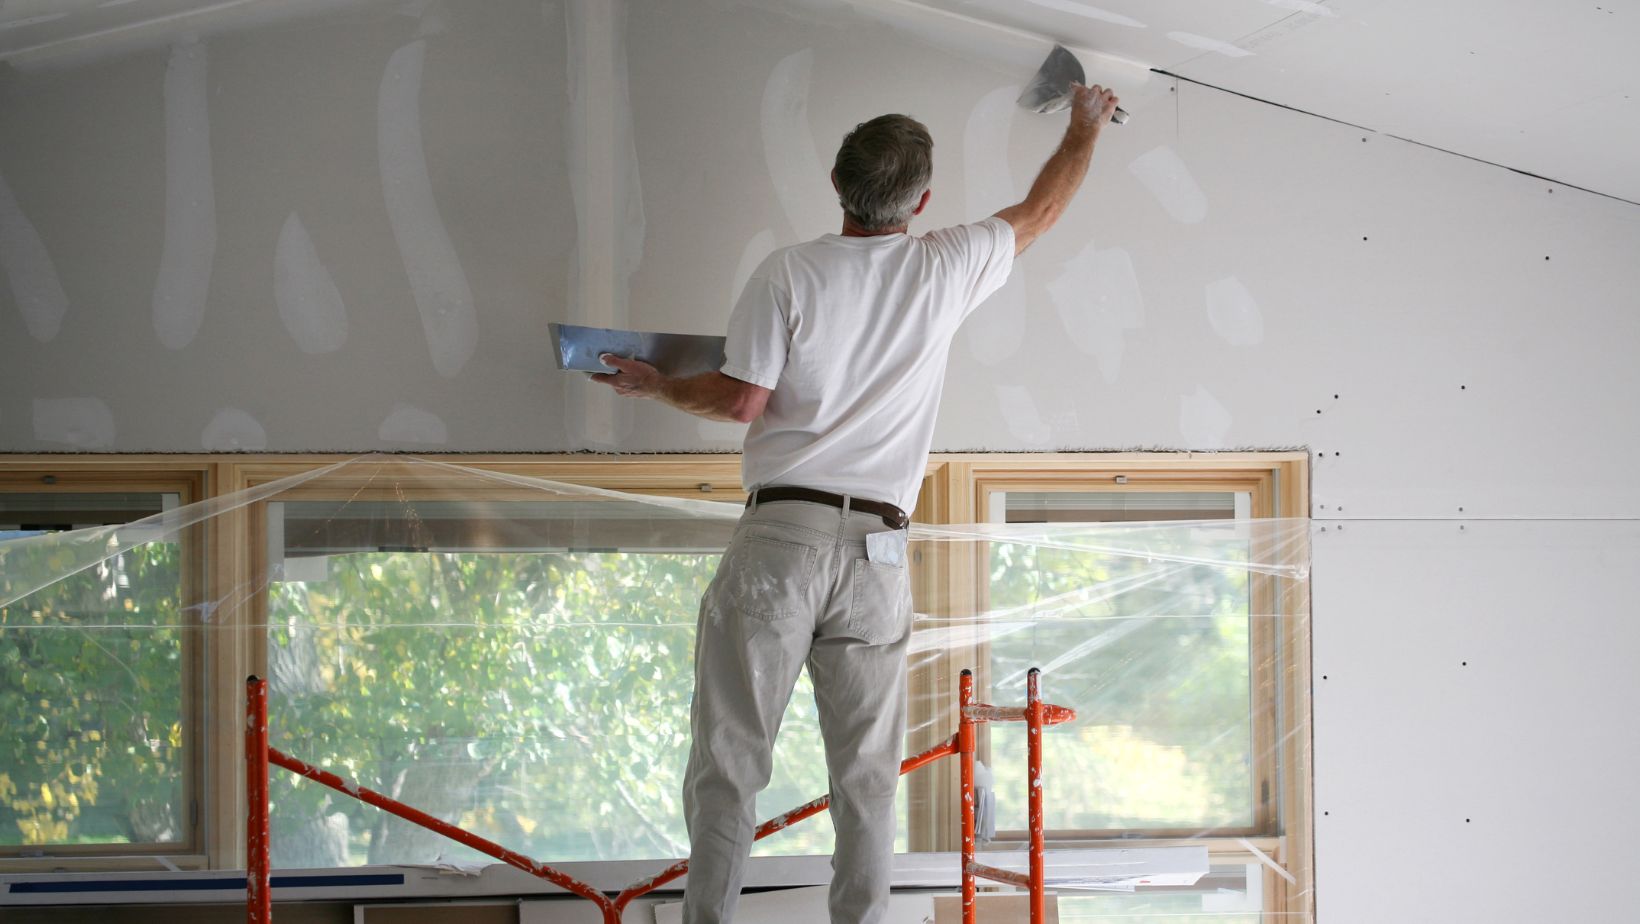
Step 3: Filling the Hole
Once you’ve prepared and cleaned your working area, proceed by doing the following:
● Apply spackle or joint compound. Use a putty knife to apply the appropriate filler material to the hole. When you’re doing that, use a zig-zag motion, dividing and edging the filling material.
● Remove the excess material. Scrape off any excess filler material until it’s even with the surface of the wall.
Step 4: Smoothing and Leveling
Once you’ve filled the hole:
● Sand the repair. When the filler material is dry, smooth out the surface with a sanding block or sandpaper.
● Provide an even finish. Make sure that the patched area is leveled with the wall for a seamless appearance.
Drywall Repair Considerations
When you’re repairing drywall damage, it’s important to make a few considerations during the process as well as when you’re finished, which include:
● Following Drying the Guidelines. Allow the filler material to dry out completely, following the recommendations given by the manufacturer on the product label. There will also be a variation in drying time based on the climate in your area and the indoor conditions.
● Reassessing the Repair. After the drying time is over, inspect the repair for any imperfections. If it’s necessary, apply more filler and repeat the smoothing and sanding process.
Besides those, you’ll need to use the proper sanding practices, for example:
● Identify the wall texture, for example, whether it’s smooth or textured, to help maintain a consistent look after the repair.
● Select the right sandpaper with the appropriate grit, making sure that it’s suitable for your wall’s texture.
● Sand the repaired area smoothly using circular motions and gradually blending it with the wall for an even finish.
● Use texture-matching techniques so the repaired area doesn’t stand out from the rest of the wall. This can be achieved by utilizing a sponge, roller, or spray.
Applying Primer and Paint
Once you’re finished repairing the drywall damage, consider going a step further and painting it over. For this task:
● Use a primer on the repaired area before painting. Choose one suitable for the conditions of your home.
● Choose a paint color that matches the one on your walls and their finish. Apply it evenly in layers, making sure that it blends well.
Tips for a Perfect Finish
To achieve the perfect finish on the repaired area, avoid the following common mistakes:
● Uneven Application. Make sure the filler material is evenly applied.
● Over-sanding. Avoid excessive sanding, which can damage the drywall and lead to an uneven surface.
● Impatience. Take your time during each step of the process to achieve the best results.
● Neglecting the Edges. When applying the filler and paint, feather the edges to blend the repair with the rest of the wall.
When you’re working on drywall damage, it’s also very important to maintain a clean workspace. For that:
● Keep your workspace clean to minimize dust and debris. Additionally, use a dust mask and vacuum regularly.
● Dispose of any waste materials, such as used sandpaper or paint cans, properly according to the local regulations.
Preventive Measures
To prevent future damage to your drywall, you’ll need to take some precautions, such as:
● Using Proper Hanging Methods. Use appropriate hanging methods, such as wall anchors or adhesive hooks, to minimize the risk of creating new holes.
● Being Mindful of Your Walls’ Thickness. Consider the thickness of the wall when choosing hanging hardware to avoid creating larger holes.
● Scheduling Regular Wall Inspections. Set a schedule for routine wall inspections, paying close attention to any vulnerable areas, for example, the corners and anywhere near frequently used fixtures.
● Performing Repairs Promptly. Address any signs of damage promptly to prevent them from becoming worse.
● Providing Long-Term Wall Care. Clean your walls gently to maintain the paint and finish, using a damp cloth or sponge for routine cleaning. Additionally, keep any leftover paint for touch-ups.
When to Call a Handyman
It’s easy to repair minor damage on your drywalls, but if the problem is more severe, you’ll need to assess your limits. In such cases, consider the following:
● Complex Damage. Recognize when drywall damage is beyond the scope of DIY solutions, for example, if it’s too extensive.
● Structural Concerns. If you suspect structural issues behind the drywall, it’s highly recommended to consult a professional before taking any action.
● Handyman Recommendations. Get recommendations from friends, family, or neighbors when looking for a reputable handyman.
● Expert Credentials. Verify the credentials and qualifications of the handyman you’re hiring.
Final Words
Repairing small drywall holes is possible to DIY and will even be more cost-effective. However, before you start working on your task, you’ll need to understand the basics of drywall, have the right supplies, and follow the proper steps. By doing that, you can certainly achieve professional-looking results and prevent future damage. If you don’t feel confident in your skills or the damage seems too complex, it’s best to seek professional assistance rather than go DIY.

Harness the Power of BetterThisCosmos Posts BetterThisWorld for Global Change

The Exciting Upgrades LCFGamestick: Enhanced Gaming Experience Awaits

Ontpeconomy: Transforming Business with Interconnected Knowledge Systems

The Online Event of the Year Scookievent: For Innovation and Networking

Boost Business Efficiency with Softout4.v6: A Comprehensive Software Solution

Exciting Upcoming Fixtures Sffareboxing: Thrilling Bouts and Star Performances Await

Discover the Magic of Galaxy:bvbbf49kubu= Unicorn: A Cosmic Fusion of Fantasy and Technology

The Enigmatic Green:xv8d-dtgrvq= Alien: Icon of Extraterrestrial Culture and Scientific Curiosity

Discover Princess:2pcem7–wrm= Aerial Journey: Adventure, Courage, and Identity in The Little Mermaid

Understanding Pokemon:7ywjdl2xpeg= SUS: Unusual Traits and Strategies in the Pokémon Universe
-

 Personal Finance8 months ago
How Do I Find My UCAS ID Number?
-
Success6 years ago
Consistency: The Key Ingredient to Success
-
Uncategorized8 months ago
What Does Conditionally Approved Mean For An Apartment?
-
Motivation3 years ago
How To Become a More Organized Person?
-
Others4 years ago
Work Health and Safety: 8 Reasons to Maintain a Clutter-free Office
-
Entrepreneurs4 years ago
Why Diversity is Key in Business Marketing
-
HK Pools8 months ago
The HK Pools Forum Comunity Jos Markotop 2D Warna Kuning – A Great Way to Stay Connected
-
Sport1 year ago
What Makes Soccer Betting So Great?