Mastering Waterproofing: A Comprehensive Guide to DIY Success
Are you ready to tackle that leaky basement or transform your bathroom into a waterproof wonderland? Whether you’re a seasoned DIY enthusiast or a newbie looking to take on your first waterproofing project, quality waterproofing supplies have your back.
Let’s walk you through the basics of waterproofing and introduce you to the essentials from Bayset waterproofing suppliers for waterproofing success.
Why Waterproofing Matters
Before diving into the nitty-gritty of waterproofing products, let’s discuss why waterproofing is crucial. Water damage can wreak havoc on your home, causing structural issues and health concerns due to mold growth.
Waterproofing is like giving your home a superhero cape; it shields your walls, floors, and ceilings from water intrusion, ensuring your space stays dry and cozy.
Protecting Your Investment
Your home is one of the most significant investments you’ll ever make, and waterproofing is your insurance policy against costly water-related damage. Whether it’s a leaky basement, a soggy bathroom, or a troublesome balcony, quality waterproofing supplies have the solutions you need to safeguard your investment.
Key Waterproofing Supplies for DIYers
Every DIY project is unique, and you need a versatile selection of products tailored to your specific needs:
-
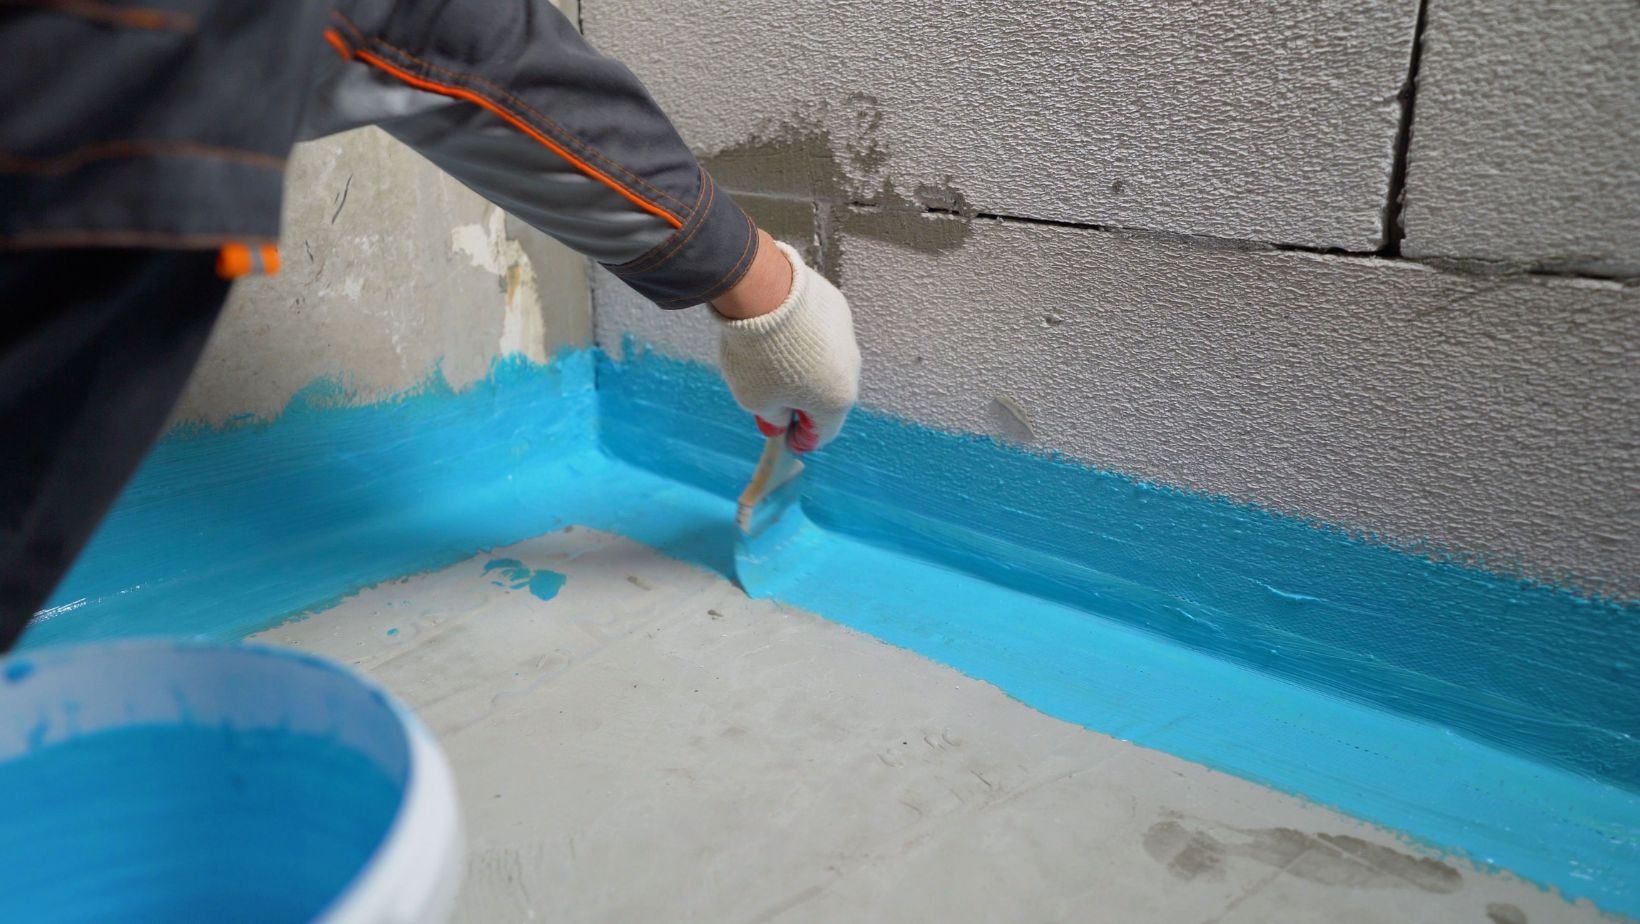
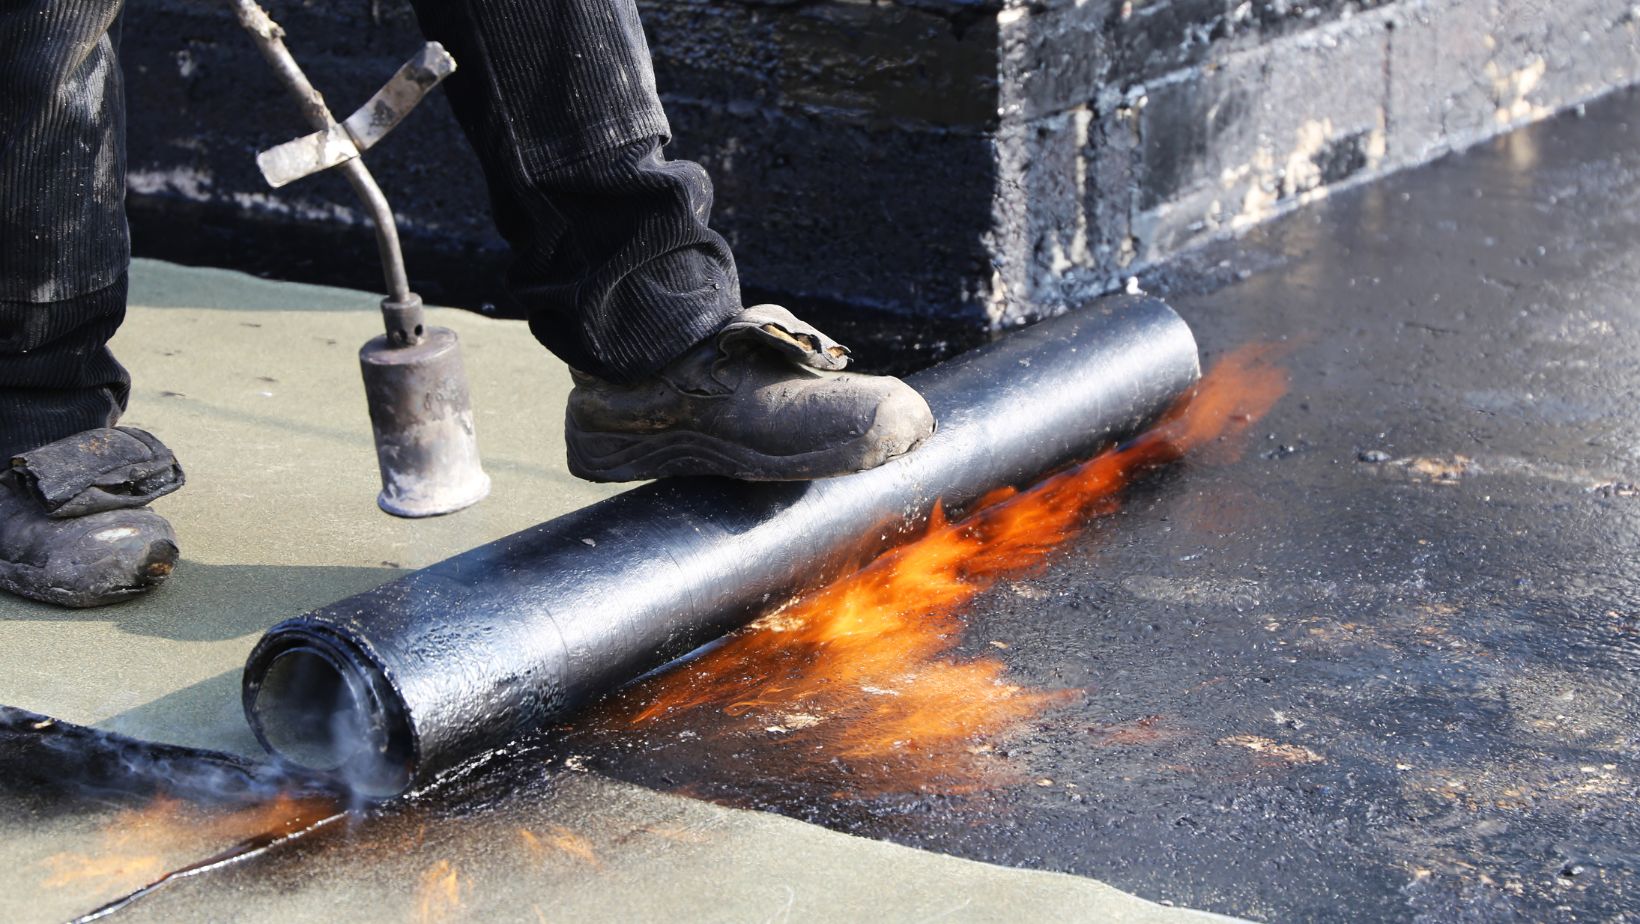
Waterproof Membrane
Waterproof membranes are the unsung heroes of waterproofing. These versatile products come in various types suitable for different surfaces, such as walls, floors, and roofs.
Applying a waterproof membrane is like giving your surfaces an invisible shield against water intrusion. Imagine it as a protective layer that seals off any potential entry points for moisture, ensuring your space remains dry and secure.
Whether you’re dealing with a basement prone to leaks, a bathroom with frequent splashes, or a balcony exposed to the elements, a waterproof membrane is your go-to solution. It’s easy to work with, typically requiring only a simple roll-on application.
-
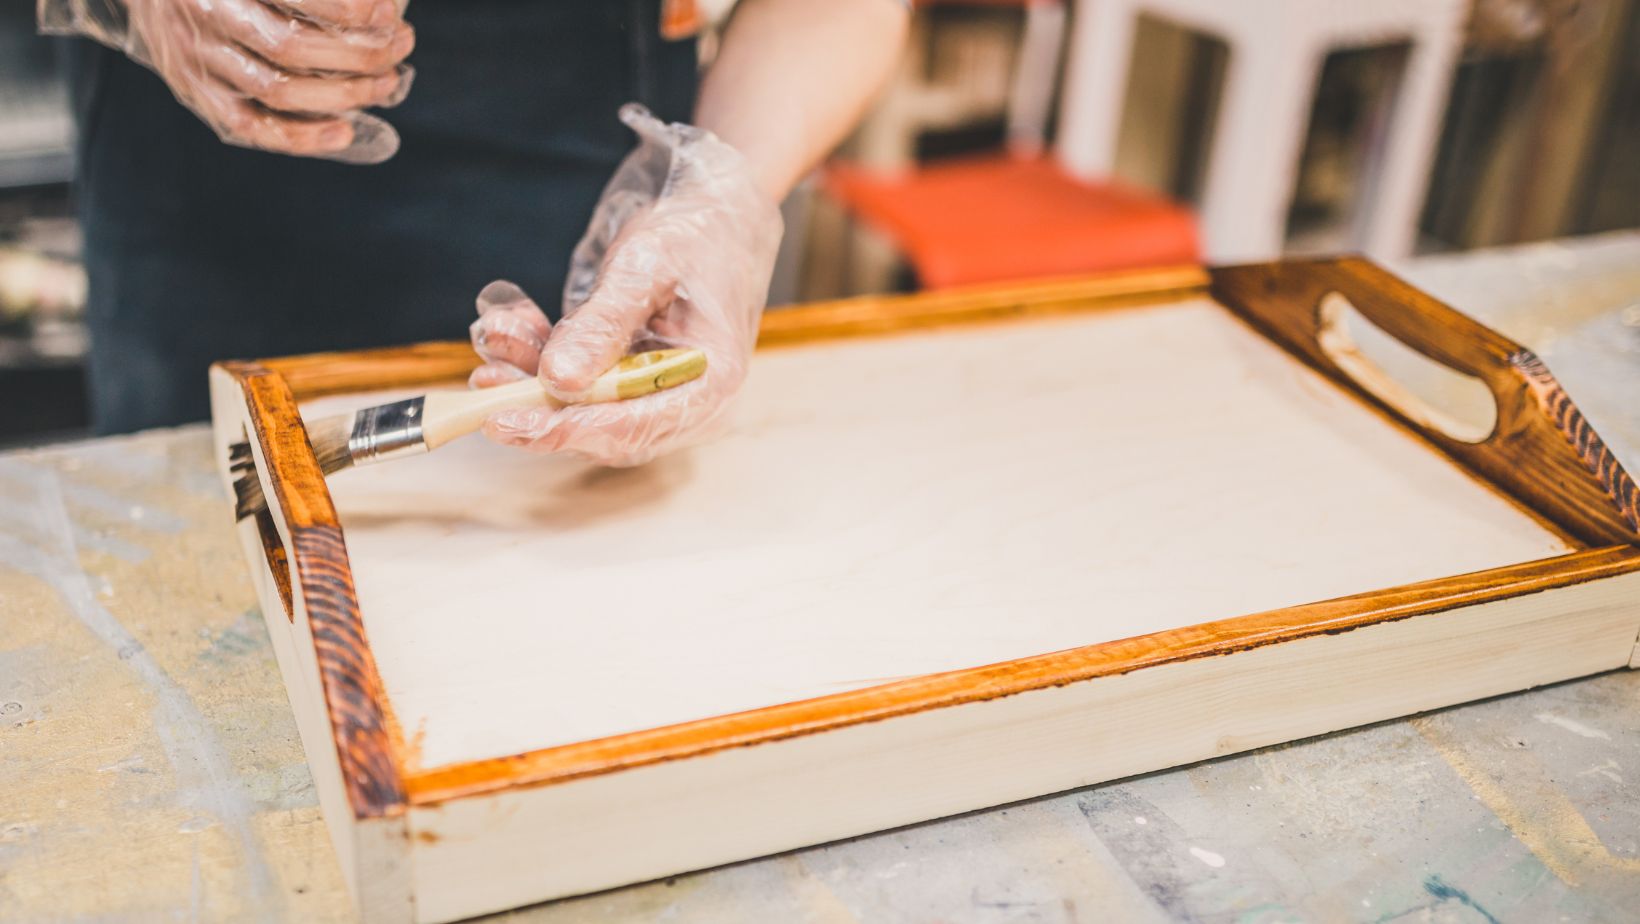
Waterproofing Paint
When it comes to waterproofing, why settle for dull walls when you can have both protection and style? Waterproofing paint does more than just waterproofing.
It also adds a fresh burst of color to your surfaces. Picture your basement walls in a new vibrant shade, all while ensuring they remain dry and free from water damage.
This specialized paint creates a waterproof barrier on your walls, preventing moisture from seeping through. It’s a fantastic choice for areas like basements, bathrooms, and kitchens, where water exposure is expected. Plus, with various colors and finishes available, you can achieve both the desired waterproofing performance and the desired aesthetic appeal.
-
Sealants and Caulk
Cracks and gaps are like open invitations for water to infiltrate your space. That’s where sealants and caulk come to the rescue. These flexible materials are specifically formulated to fill those pesky openings, creating a watertight seal that leaves no room for moisture to sneak in.
Imagine a bathroom with perfectly sealed seams around the bathtub or a basement with all its tiny crevices securely sealed. Sealants and caulk are the tools you need to achieve these results.
They’re easy to apply and provide a durable, long-lasting solution to keep your space dry and leak-free. Say goodbye to water finding its way through tiny cracks, and say hello to a waterproof environment.
-
Waterproofing Adhesive
Sometimes, your waterproofing needs go beyond just sealing gaps or applying membranes. You may need to bond materials in wet conditions, where waterproofing adhesive shines. This adhesive is like the superhero of the waterproofing world – it excels even when things get wet.
Imagine repairing a pool liner, attaching tiles in a splash zone, or securing outdoor fixtures exposed to rain. Waterproofing adhesive ensures a solid and lasting bond, even in water-prone areas. Its specialized formulation ensures that it won’t weaken or deteriorate when exposed to moisture, providing you with a reliable and waterproof connection.
-
Tools and Accessories
Completing your waterproofing toolkit are the various tools and accessories designed to make your DIY project a breeze. From brushes and rollers for easy application to gloves and safety gear for protection, these tools ensure that your waterproofing job is effective but also safe and convenient.
Think of them as your trusty companions throughout the waterproofing process. You can work efficiently and confidently with the right tools and accessories, knowing you have everything you need to achieve a dry and worry-free space.
Getting Started with Waterproofing
So, how do you kickstart your DIY waterproofing project? It’s as easy as pie (or maybe even easier). Here’s a detailed step-by-step guide to getting started with waterproofing and achieving success:
Assess the Situation
Begin by figuring out where you need waterproofing. Is it your basement, bathroom, or balcony? Identify the problem areas that require attention.
Choose the Right Products
Once you’ve assessed the situation, it’s time to select the appropriate waterproofing products for your project. Consider factors such as the type of surface you’re working on (e.g., concrete, tile, wood), the moisture problem’s severity, and the space’s intended use.
Prepare the Surface
Proper surface preparation is a critical step in ensuring the success of your waterproofing project. Start by thoroughly cleaning the surface to remove dirt, dust, grease, and loose materials. Use a stiff brush, pressure washer, or appropriate cleaning solution to achieve a clean and smooth surface.
Apply the Waterproofing
Follow the manufacturer’s instructions on how to apply the chosen waterproofing materials carefully. Each product may have specific application guidelines, so reading and understanding them is essential.
Enjoy a Dry, Worry-Free Space
Once you’ve completed the application of waterproofing materials, allow them to cure or dry as per the manufacturer’s instructions. This curing process is crucial for the materials to achieve maximum waterproofing potential.
Afterward, you can enjoy the benefits of your waterproofed space. Whether it’s a dry basement, a leak-free bathroom, or a protected outdoor area, you’ll have peace of mind knowing that your DIY waterproofing project has effectively shielded your space from water damage.
Conclusion
Quality waterproofing supplies are your trusty sidekick on your DIY waterproofing journey. So, grab your tools, don your DIY cape, and let waterproofing be your guiding light in the world of waterproofing. Your home will thank you for it, and you can enjoy peace of mind with a waterproofed sanctuary.

Why Every Growing Business Should Invest in a Vehicle Fleet

Essential Equipment You Need to Start a Fabrication Shop

Discount Codes Ttweakflight to Maximize Your Travel Budget

Big Savings: Your Guide to TtweakHotel Discount Codes for Affordable Stays

Amazing Discount from TtweakHotel: Save Big on Your Next Stay

Exciting Upcoming Fixtures Sffareboxing: Thrilling Bouts and Star Performances Await

Discover the Magic of Galaxy:bvbbf49kubu= Unicorn: A Cosmic Fusion of Fantasy and Technology

The Enigmatic Green:xv8d-dtgrvq= Alien: Icon of Extraterrestrial Culture and Scientific Curiosity

Discover Princess:2pcem7–wrm= Aerial Journey: Adventure, Courage, and Identity in The Little Mermaid

Understanding Pokemon:7ywjdl2xpeg= SUS: Unusual Traits and Strategies in the Pokémon Universe
-

 Personal Finance8 months ago
How Do I Find My UCAS ID Number?
-
Success6 years ago
Consistency: The Key Ingredient to Success
-
Uncategorized8 months ago
What Does Conditionally Approved Mean For An Apartment?
-
Motivation3 years ago
How To Become a More Organized Person?
-
Others4 years ago
Work Health and Safety: 8 Reasons to Maintain a Clutter-free Office
-
Entrepreneurs4 years ago
Why Diversity is Key in Business Marketing
-
HK Pools8 months ago
The HK Pools Forum Comunity Jos Markotop 2D Warna Kuning – A Great Way to Stay Connected
-
Sport1 year ago
What Makes Soccer Betting So Great?