Are This Codes For Instaling Webcam?
Are you confused about the codes for installing a webcam? Don’t worry! This article provides easy-to-follow instructions to help you get the job done.
With our step-by-step guide, you’ll be able to install your webcam quickly and efficiently!
TCJYBWF
To get started with webcam installation, it’s important to understand the basics. In this article, we’ll introduce you to the basic codes and software requirements needed to install a webcam. From there, we’ll explore how to install a webcam and how to use it.
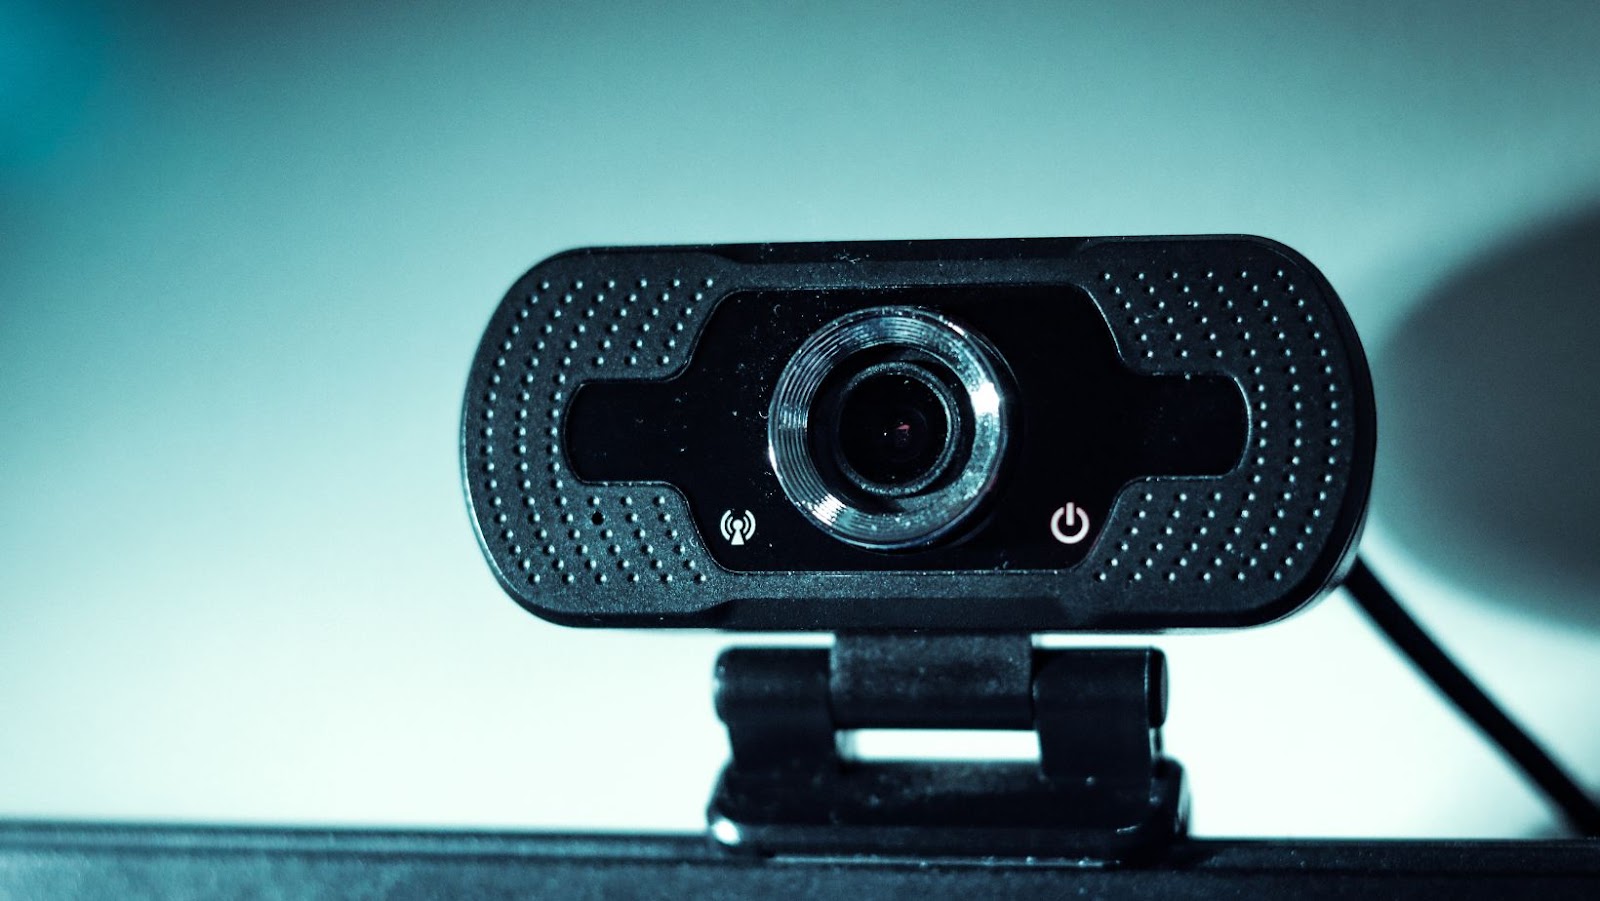
Installing a webcam can greatly enhance your computing experience by offering a range of benefits.
Some of the benefits of installing a webcam include:
| 1. Video calling: | You can use a webcam to make video calls to friends, family, or business partners. This is a great way to stay in touch and collaborate in real-time. |
| 2. Streaming and recording: | If you enjoy streaming or recording videos, a webcam is an essential tool for creating high-quality content. Whether you’re a gamer or a vlogger, a good quality webcam can make all the difference. |
| 3. Security: | A lot of webcams come with built-in security features, such as facial recognition and motion detection. This can provide an extra layer of security for your home or office. |
| 4. Education: | Webcams are a great tool for online learning and remote education. They allow students to interact with teachers and classmates in real-time, making the learning experience more engaging and interactive. |
Installing a webcam is an easy and cost-effective way to enhance your computing experience and unlock a range of benefits.
RCHDCPL
Understanding your webcam is crucial for properly installing and setting it up. While there are codes available for webcam installation, they are not the only solution. Here are the basics for installing your webcam without using codes:
1) Choose an ideal location for your webcam. The location should be well-lit and situated at eye level.
2) Connect the webcam to your computer’s USB port.
3) Install the necessary drivers and software for your webcam. Many webcams will automatically prompt you to install the required software when you plug it in.
4) Configure the webcam’s settings according to your preferences using the software provided.
5) Test the webcam to ensure that it is working correctly.
If you still encounter problems, refer to the user manual or online guides to troubleshoot. While codes can sometimes help, following these basic steps should be enough to get your webcam up and running smoothly.
Pro tip: Always make sure to keep your webcam’s lens clean and free of debris for better visual output.
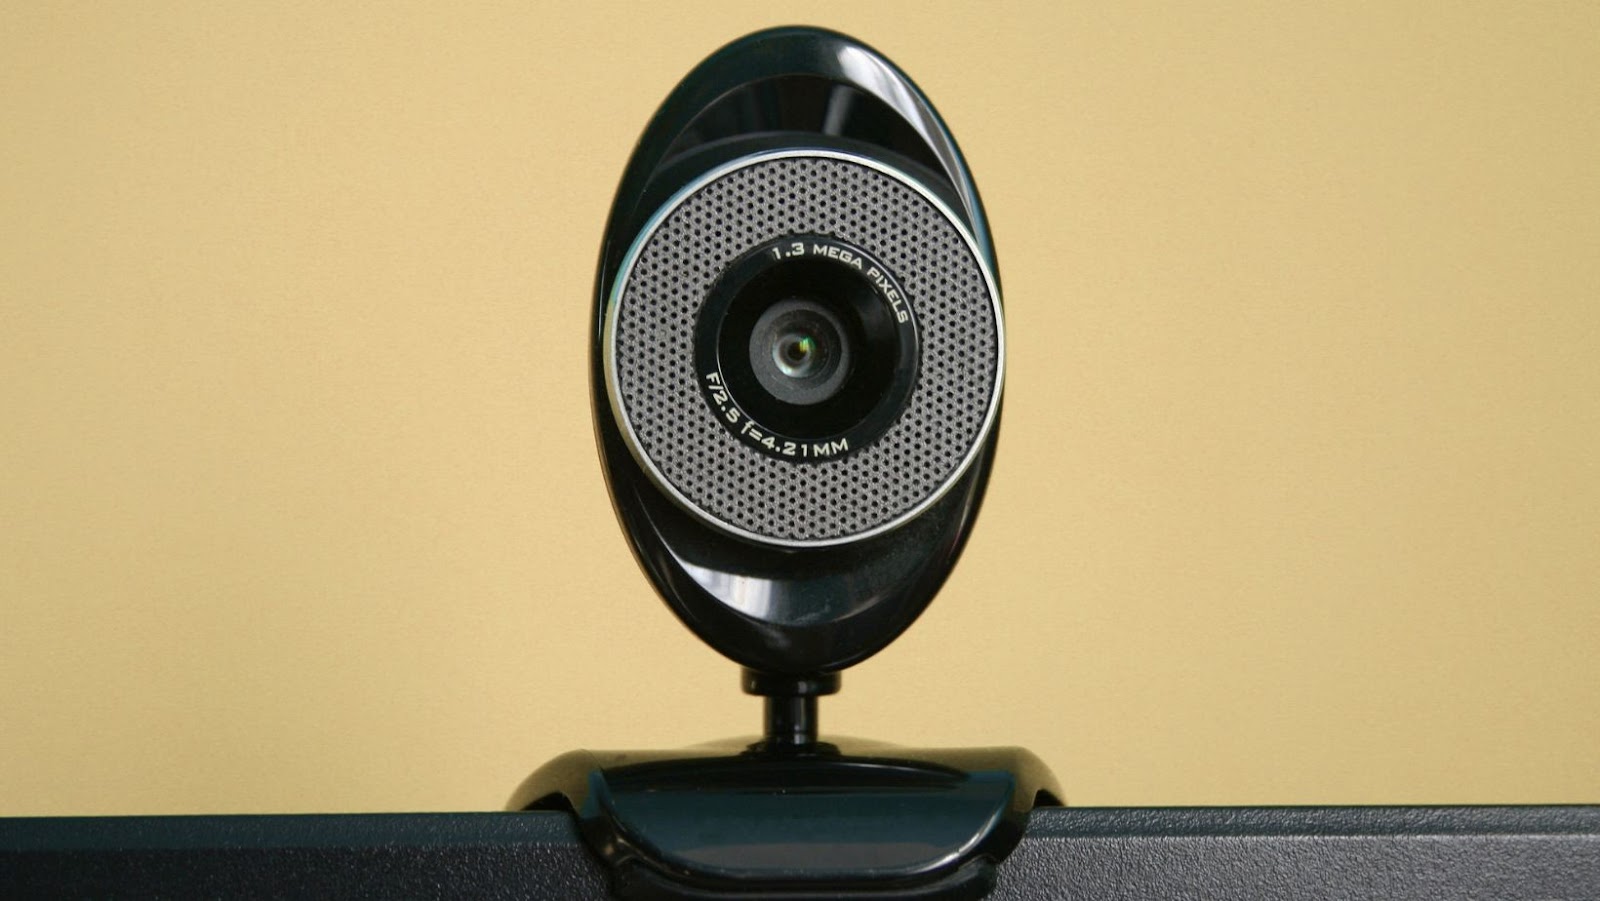
Checking for Webcam Compatibility
Before purchasing a webcam, it’s important to check if it’s compatible with your computer or laptop. Most webcams list system requirements on the packaging or website, so it’s important to cross-reference those with your computer’s specifications. Some things to consider include operating system, USB port type (2.0 or 3.0), and processing speed.
It’s also important to make sure that the webcam you purchase comes with installation instructions or software compatible with your computer. These codes are not for installing webcams. Webcams usually are installed through a manual process and require specific drivers to be downloaded from the manufacturer’s website.
GKFNMCZ
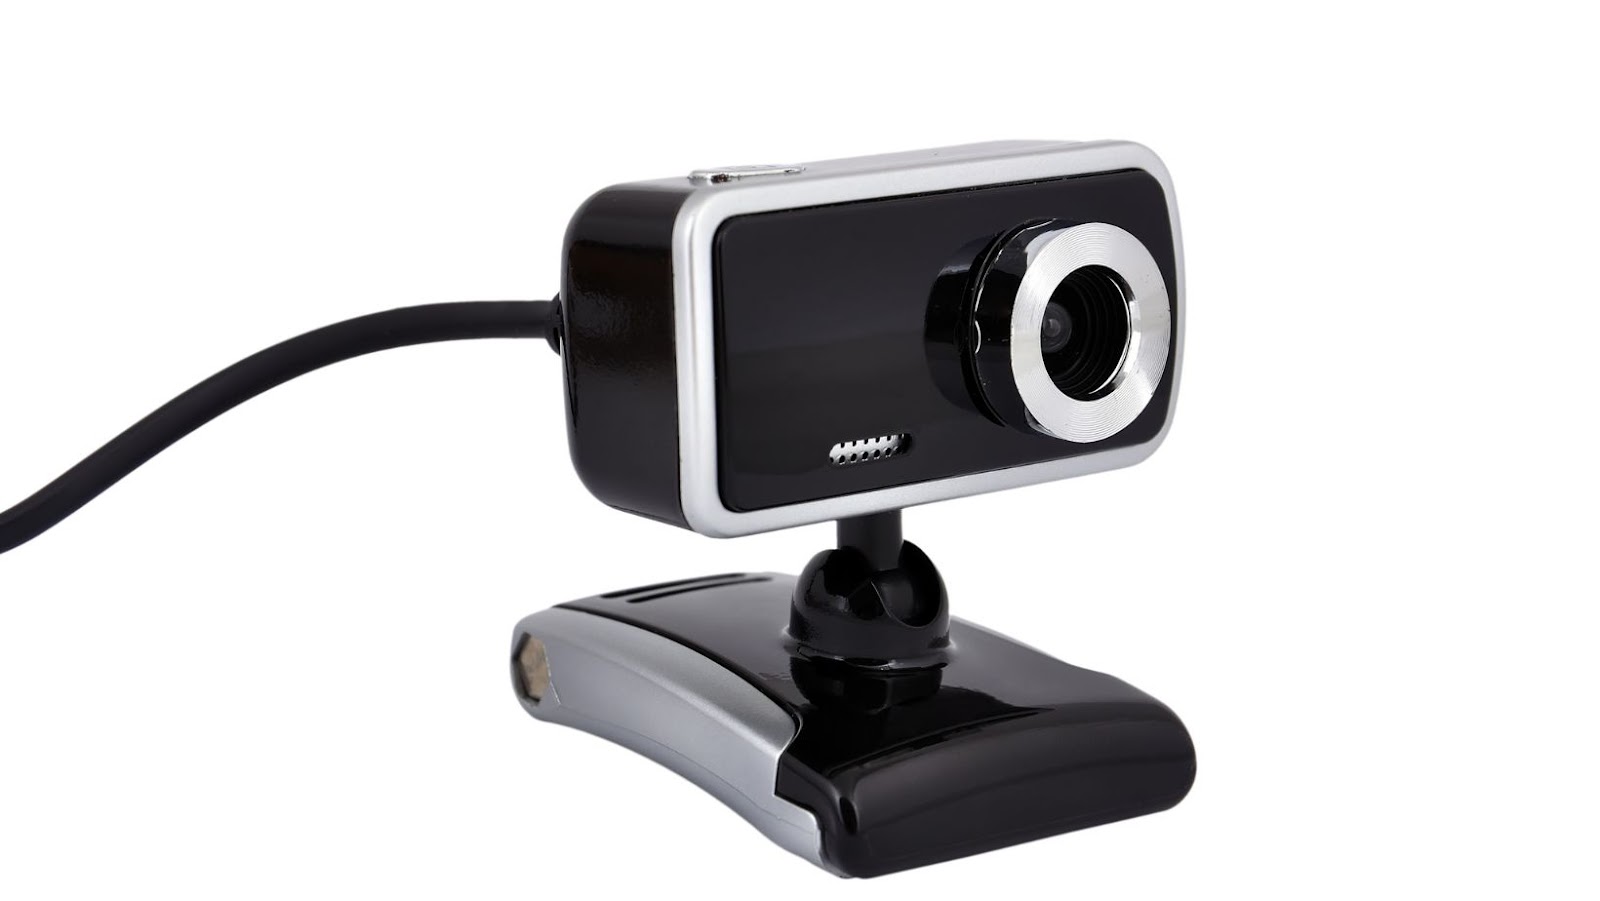
Connecting your webcam to your computer is a straightforward process that doesn’t require any codes or technical skills. Here are the basic steps for webcam installation:
Check your computer specs: Before buying a webcam, verify that your computer supports USB connectivity and has an operating system that is compatible with the webcam.
Choose a suitable webcam: Consider factors such as picture quality, frame rate, and microphone quality before selecting a webcam that meets your needs.
Plug in the webcam: Connect the webcam to your computer’s USB port. If your computer doesn’t automatically detect the device, download the webcam’s software from the manufacturer’s website.
Install the drivers: Follow the instructions provided in the webcam user manual to install the necessary drivers and software.
Customise your camera settings: Once your webcam is installed, adjust the settings such as brightness, contrast, and audio levels from the software provided with the webcam.
Pro tip: Make sure to test your webcam after installation to ensure it’s working correctly.

TDHJXTNM
Setting up a webcam can be a great way to video conference with friends, family, and business associates. However, depending on which device you have, the process for installing a webcam can vary.
This article will provide detailed instructions for installing webcam on specific devices, as well as the necessary codes for installing the webcam.
Installing a Webcam on Windows
Installing a webcam on Windows is a simple process that involves a few key steps. The first step is to identify the type of webcam you have and ensure that it is compatible with your Windows operating system. Once you have confirmed compatibility, you will need to connect the webcam to your computer and install any necessary drivers or software. Depending on your specific device, you may need to enter installation codes or prompts during the setup process. Once the installation is complete, you should be able to use your webcam for video chats, streaming, and other tasks.
It is important to keep your webcam software and drivers up to date to ensure optimal performance and compatibility with your operating system and other hardware devices.
Pro Tip: Always ensure that you are downloading drivers and software from trusted sources to prevent malware or viruses from infecting your computer.
Windows 10 Webcam Setup
The heading “Windows 10 Webcam Setup” refers to the process of setting up a webcam on a device running the Windows 10 operating system. It does not involve any codes related to installing a webcam.
Here are the steps to set up a webcam on a Windows 10 device:
1. Connect your webcam to your computer with the USB cable that came with your device.
2. Ensure that your operating system is up-to-date by going to Settings > Update & Security > Windows Update.
3. Open your preferred video-chat or conferencing app (e.g. Zoom, Skype, Google Meet) and access the Settings menu.
4. Choose the webcam from the list of available cameras in the app’s settings.
5. Test the connection and adjust the webcam settings as necessary.
Pro Tip: To ensure that your webcam works smoothly, make sure you have adequate lighting in your workspace and that your camera lens is clean.
Windows 7 Webcam Setup
This heading is incomplete and confusing. It is likely a typo that should be corrected to accurately convey the intended information. However, assuming this heading is meant to be “Windows 7 Webcam Setup,” the following response is provided:
Setting up a webcam on Windows 7 is a simple process that involves connecting the device to your computer and installing any necessary drivers or software. To set up a webcam on Windows 7, follow these steps:
Connect the webcam to an available USB port on your computer.
Allow Windows 7 to automatically detect and install device drivers. If this does not happen, check the manufacturer’s website for drivers.
Once the drivers are installed, open your preferred video chat or recording software and select the webcam as your preferred camera.
Test the webcam to ensure it is working properly.
Note: This process may vary depending on the specific webcam and computer setup. Refer to the device’s instruction manual or manufacturer’s website for more detailed instructions.
Installing a Webcam on Mac
Installing a webcam on a Mac is a straightforward process. Here are the steps to follow:
1. Connect your webcam to your Mac computer using a USB cable.
2. If your webcam requires a driver, install the driver software that came with the camera.
3. Once the webcam is plugged in, it should automatically be recognized by your Mac and be ready to use.
4. To test the camera, open an application that uses video, such as FaceTime or Photo Booth.
As for codes, specific drivers or software may require you to input specific codes, but in general, the above steps should suffice for basic webcam installation on a Mac. Pro tip: Before purchasing a webcam, make sure it is compatible with your Mac’s operating system to avoid potential issues during installation.
Installing a Webcam on Linux
Installing a webcam on Linux can be done easily with a few simple steps. However, some devices may require additional codes or drivers to work correctly. Here’s how to set up a webcam on Linux:
1. Plug in your webcam to your computer’s USB port.
2. Open your preferred Linux distribution’s software centre or package manager.
3. Search for the “Cheese” app and download/install it.
4. Open the Cheese app and check if your webcam is detected and working correctly.
If your webcam is not detected or working correctly with Cheese, you may need to install additional drivers or codes. Check with your device manufacturer or search for Linux webcam compatibility lists online.
Pro tip: If you plan to use your webcam for video conferencing or streaming, consider investing in a high-quality external webcam with built-in noise-cancelling microphones for better audio quality.

Mastering the Melody: A Deep Dive into Chord Stand Here Alone – Indah Tak Sempurna

Comfort & Safety with OYO Artinya Accommodation in Indonesia

Empowering Elegance: The Art Of Selling Estate Jewelry For Female Collectors

From Bonus Bucks to Free Spins: Understanding Slot Free Credit Offers

Aztec Relics and Treasures

Unveiling the Wheel: 10 Fascinating Facts You Didn’t Know About Roulette

How to Create a Memorable Brand Identity on a Shoestring Budget

Playing Smart: Strategies To Improve Your Online Slot Experience

Mobile . de: Navigating Germany’s Premier Online Vehicle Marketplace

Decoding Symbolic Imagery in Slot Reels and Surrealism
-

 Quotes1 year ago
30 Inspirational Thoughts For The Day
-
Self Improvement1 year ago
7 Tips To Recreate Your Life In 3 Months And Change Your Destiny
-
Motivation1 year ago
5 Excellent Ways To Stay Focused On Your Dreams
-
Quotes1 year ago
21 Quotes About Chasing Perfection And Striving For It
-
Health1 year ago
4 CBD Products Your Dog Deserves To Have
-
Personal Finance2 months ago
How Do I Find My UCAS ID Number?
-
Entrepreneurs1 year ago
1Password Evaluation – The Highest Ranked Password Manager Out There
-
Entrepreneurs2 years ago
51 Lucrative Ways to Make Money From Home